Showing posts with label Pinterest. Show all posts

Wednesday, June 11, 2014

Cheddar Tailgating Bread {Pinterest Success}

Now that I am finally caught up on my race recaps, I want to share some of the other stuff I'm been doing this spring (and now summer).

I went home at the end of March for my nieces birthday.  She's only 2, so we do a small family thing and I offered to bring an app with me.  Of course, I turned to Pinterest for my dish.  I decided to bring an appetizer and after some deliberating, I decided on Cheddar Tailgating Bread.

I saw a couple of versions (by various blogs) on Pinterest but I decided to go with this one on Tasty Kitchen by Foodie with Family.  It looked relatively easy and that I'd be able to make it on site.

It was pretty easy to put together, which is no easy feat considering there were 4 small children running around and a house full of adults distracting me.


Overly simplified directions by me -

1. Melt butter and mix with garlic and sliced green onions
2. Cut loaf of Italian bread into squares/grid, but don't cut all the way to the bottom.  Separate pieces to make space
3. Pour butter/garlic/green onion mixture into the crevices created by the squares


4. Wrap bread in foil and bake for 10 minutes
5.  Remove from oven and sprinkle with cheddar cheese, making sure to push the cheese into the crevices
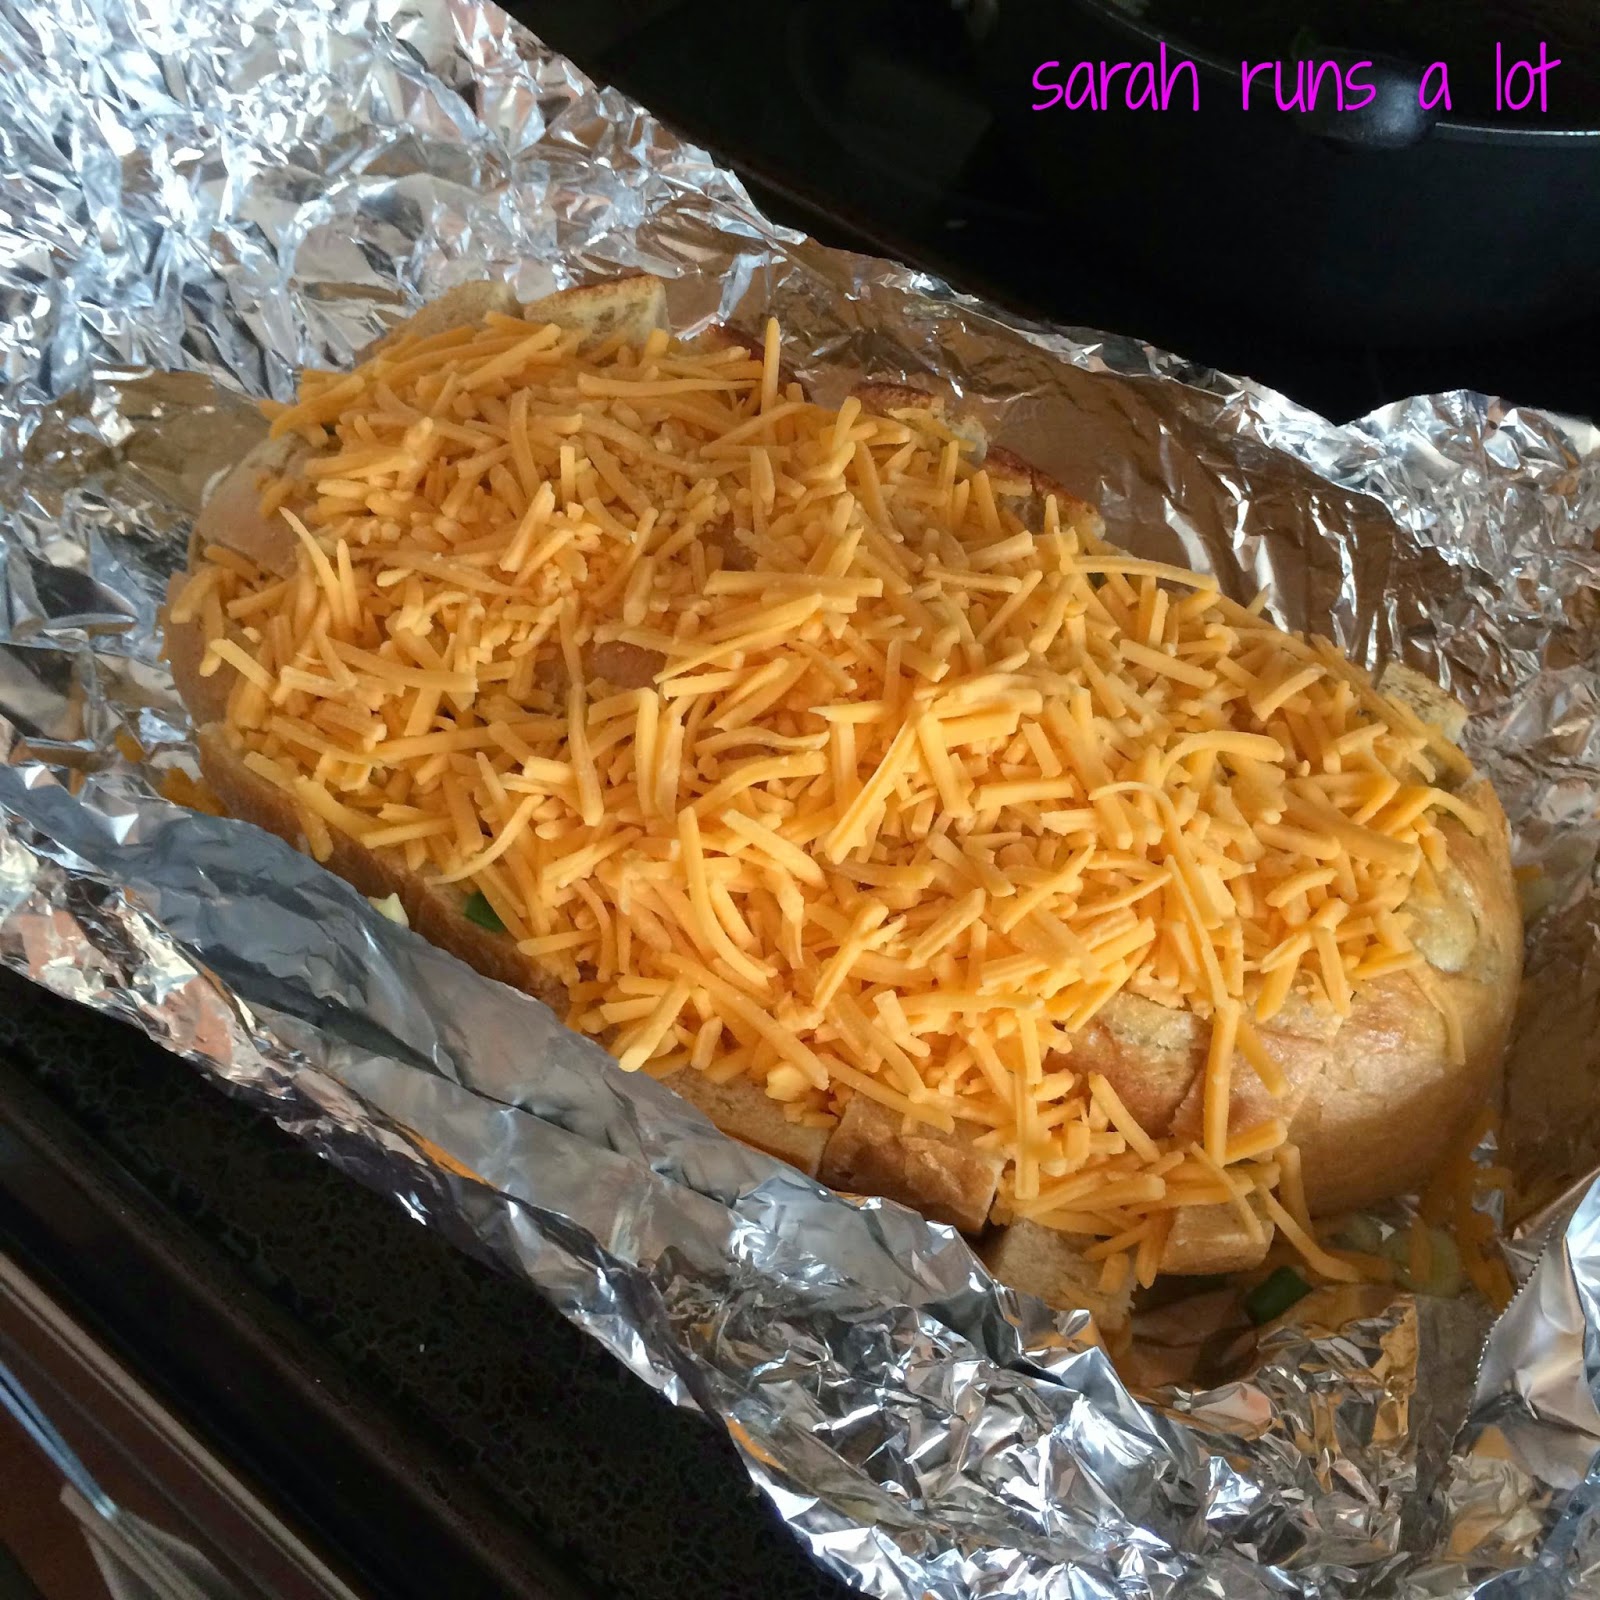

6.  Return to oven uncovered and cook for another 15 minutes until cheese is melted
7.  Let sit for 3 minutes to cool and sprinkle parsley over top

Next time, I will probably saute the garlic and green onions for a bit to soften them before adding to the bread.  I'll also decrease the amount of cheese because it was overflowing and we didn't even use all the cheese it called for.  I'd also cut back on the amount of parsley because it seemed like a lot to me (but you might like that much!).

Overall this recipe was easy and delicious!  I would call this one a Pinterest Success!

You can get the full recipe here!


Thursday, September 5, 2013

One Pan Pasta

I am still getting settled after my trip and getting caught up at work, I thought I'd share a recipe that's been hanging out in my drafts for awhile. Enjoy - I'll be back with race recaps soon! 

*************************

This was a recipe I found via Pinterest.  I saw it a lot showing up on my pinterest feed.  Since I love pasta and use my running as an excuse to eat it, I thought I'd give it ago.  Plus, the recipe came from Martha Stewart, so I knew it was a trusted source.

It didn't involve any crazy ingredients and since it was billed a 'one pan pasta', obviously did not involve any gadgets.  I prepared all the ingredients per Martha and added it all to the pot.  The ingredients were simple: linguine, tomatoes, onion, garlic, red-pepper flakes, basil, olive oil, salt, pepper, water.

In the pot it goes!
Bring it to a boil and just let it boil (stirring frequently - this is important or it sticks to the bottom of the pan) until pasta is al dente or water is all dissolved.

Took me a little longer then Martha said it would, but it still came together nicely.  The onions and tomato's softened and made a nice sauce for the pasta.  It made a ton, so I had leftovers for lunch for a couple of days (which reheated nicely!).

I did really like this recipe and will definitely make it again.  I like that it only involved 1 pot making clean up minimal!  The only thing I would change would be to add more tomato's.  I love cherry tomato's and would have liked more in the dish.  I also think it would make it more sauce like.  So next time I make it, I will double the tomato's.

Finished product
Visit Martha Stewart for the recipe by clicking here.

Enjoy!

Sunday, August 26, 2012

"Top 5" Burgers

It's been a while since I posted a recipe, but this summers been so busy I haven't really had time to cook all that much!  I made this recipe a couple of months ago, but never got around to posting.  Enjoy!

**

When I was home a couple of months ago visiting my mom, I got to pick the dinner choices.  I love cooking when I'm home because there is someone else to eat it too!  Since living in NYC I don't have access to a grill (a real grill, not a grill pan), I knew one of those meals would be grilled.  I decided to go with a hamburger recipe I had found on pinterest.  It was titled "Best Burger Recipe Ever".  Had to try that one, right?


They were pretty simple to make - but they did fall apart slightly (which a lot of people mentioned in the comments section), but I think it had more to do with them sticking to the grill.  Making them on a grill pan might actually help that situation!

They were quite delicious, but not 100% sure I would call them the best burgers - maybe Top 5?

"Top 5" Burgers
(recipe from Little Miss Momma)

Ingredients
2 lbs ground beef 85/15
Sesame seed buns
1/2 cup of grated Monterrey jack cheese
1/4 cup BBQ sauce
Season salt to taste
Cracked black pepper
Onion powder

Steps:
1. Combine the ground beef, grated cheese, bbq sauce, and seasonings.  
2. Shape patties that are about 1 inch thick.  Then it is very important to  push a 1/2 inch indent into the center of the patty–this is what prevents the patty from becoming a dome.
3. Place the patties on indent side up.
4. Cook for about 4-6 minutes, but make sure it doesn’t burn. Then flip the burger over and cook until done.  

Her recipe also included a secret sauce, which I did not make, but looked good.  

Since we were grilling we also made grilled asparagus.  To make the asparagus, we drilled with olive oil, salt and pepper and placed in a tin foil boat.  Then grill while the burgers are grilling.  Delish!

Enjoy!

Sunday, April 15, 2012

Citrus Pork Tenderloin

I made a delicious pork tenderloin this weekend.  I typically don't make pork.  Not sure why, we definitely ate pork when I was growing up (usually chops) but I can't even remember the last time I made it at home.

I used a recipe I found on Pinterest, but made some changes (love Pinterest!).  One of the things I loved about this recipe was the handful of ingredients: salsa, cut pineapple, pork tenderloin, olive oil and lime.  Gotta love 5 ingredients.

First combine the salsa and pineapple.

Next rub olive on the pork tenderloin and top with the pineapple-salsa mixture.

Pop in the oven for 40 mins at 425.  Let stand for 10 minutes before slicing.

Squirt lime over top before serving.  I served mine along side some Near East Sun Dried Tomato rice.  So easy and delicious!

Citrus Pork Tenderloin (adapted from allrecipes.com)


1 cup salsa
1 20 oz can of cut pineapple
2 pork tenderloins (about 1 lb each)
olive oil
1 lime


1.  Heat the oven to 425 degrees F. Stir the salsa pineapples in a small bowl.
2.  Place the pork into a shallow baking pan. Rub the pork with the oil. Pour the salsa mixture over the pork.
3.  Bake for 40 minutes or until the pork is cooked through. Remove the pork from the pan and let it stand for 10 minutes. Squirt with lime and enjoy!

Tuesday, February 21, 2012

Hawaiian Shredded Chicken and Lime Rice

So, as stated in my last post, I love Pinterest.  It's such a great place to find ideas and get inspired.  Mostly, I pin clothing I can't afford and lots of delicious looking recipes.

Any who... I also love my crock pot.  Such a useful cooking appliance and one that doesn't have to be super expensive either.  My crock pot was one of the first appliances I bought myself once I was living in the city (and in a tiny studio so space was a premium, but I had to have my crock pot!)  There are a lot of crock pots out there and you could spend a lot of money on it, but I got a pretty basic one (just a high and low switch, no timers or anything - I was on a budget!).  I've had it for about 6 years now and have never had any problems with it.

I also love using the crock pot because I like cooking on Sundays and having left overs all week.  Most crock pot meals make a ton of food - great for leftovers and reheating!

So this weekend, I used my crock pot to make a delicious and easy meal.  I chose a recipe from Pinterest called Hawaiian BBQ Chicken.  The full recipe can be found here: Hawaiian BBQ Chicken.  Just 3 simple ingredients - how can you not like that!  I paired it with a lime rice (a version of the recipe on this site, how I changed it below).

Success!  Hawaiian BBQ Chicken with Lime Rice

I thought both recipes were delicious.  For the Hawaiian BBQ Chicken, I did think it needed a little bit more sauce, but that's very much a personal opinion as I love sauces in general.  Luckily, I had another bottle of BBQ sauce already, so I just added a little more to the top.  With the rice, I did make some changes to the recipe I used.  I left the cilantro out because I am not a fan of cilantro.  I always buy it when called for in recipes, but I either end up leaving it out or picking around it, so this time I didn't even buy it.  I also used more lime juice then she recommended.  Just minor changes, but based on my personal preferences.  That is one of the things I love about cooking - you can adjust to your own tastes.

Overall, I was pleased with how both dishes turned out and I did end up with tons of left overs for my lunches this week.  While normally rice does not reheat well, I find when it's covered with something (i.e. saucy shredded chicken) it stays pretty moist.

More to come,
S